Showing posts with label baskets. Show all posts

Thursday, June 20, 2013

Getting ready for the Heritage Fair at the Spencerville Mill Friday through Sunday.

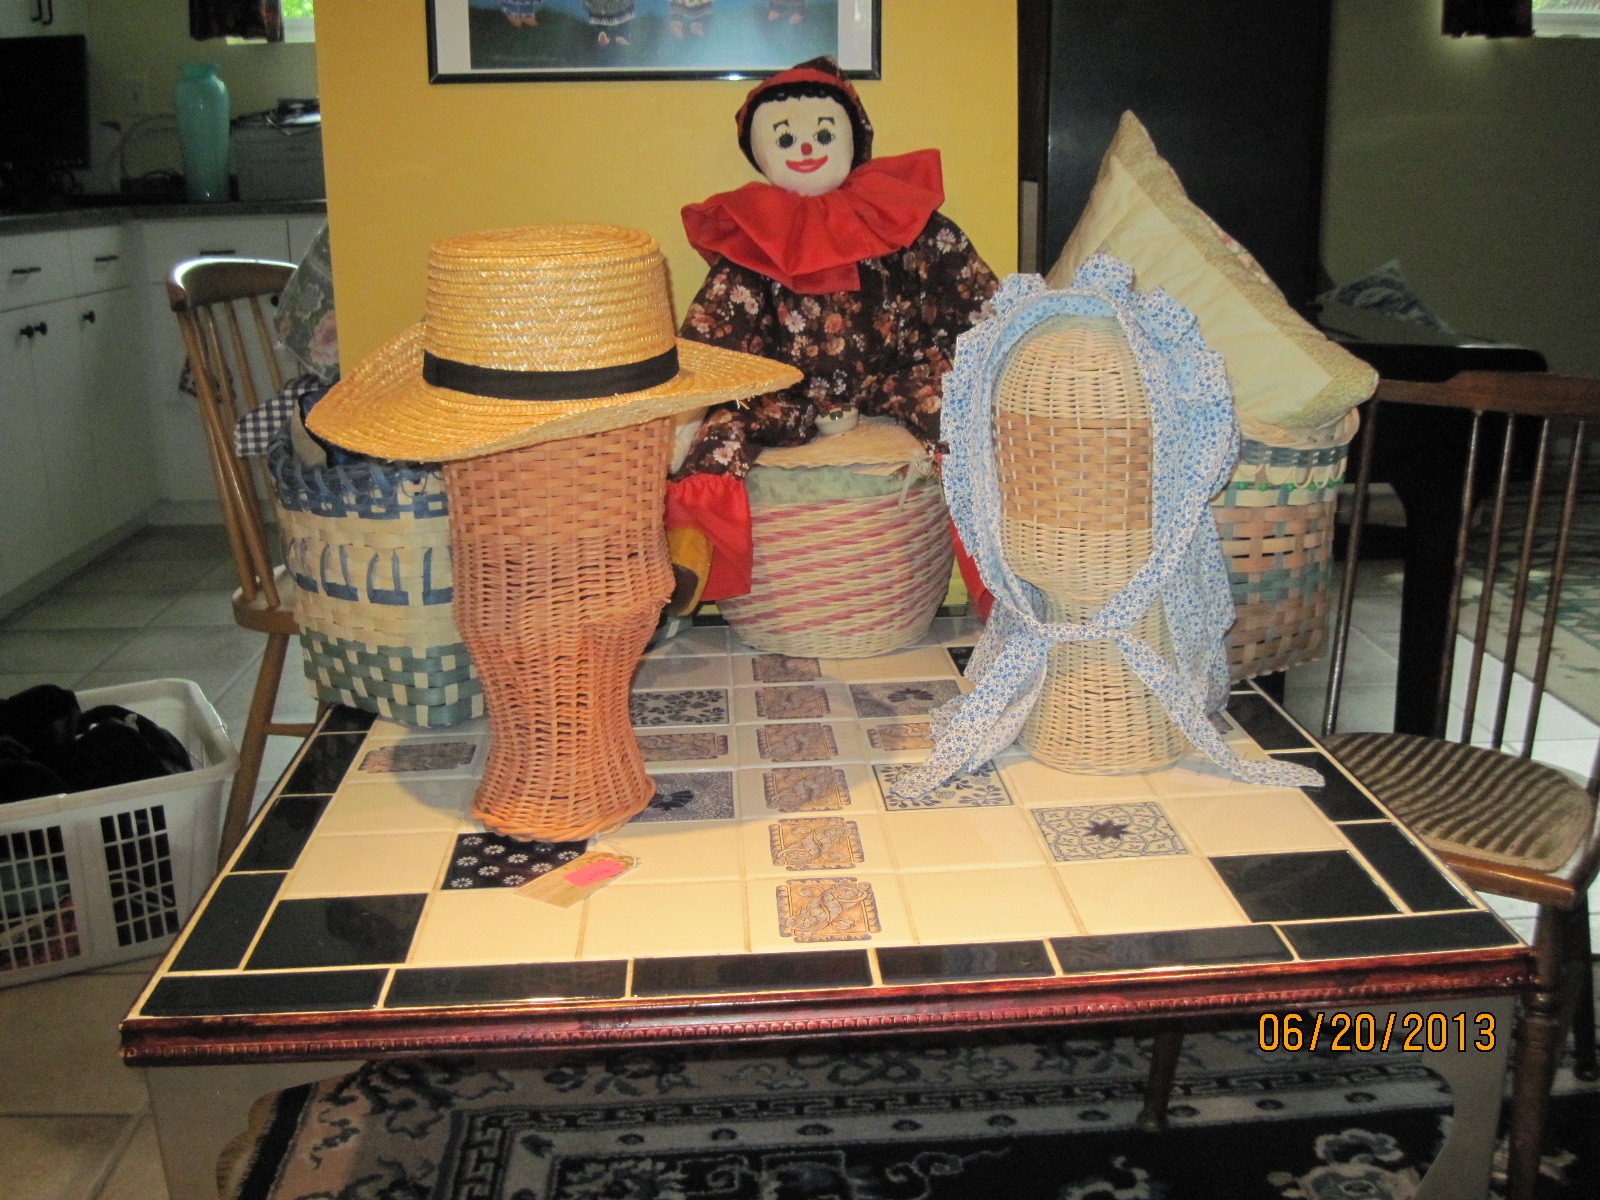
 Today I began to assemble the baskets and other supplies we will need to take with us to the Friday through Sunday's Heritage Fair at the historic Spencerville grist mill. The mill will again attempt to earn a Guinness Book of records world record for the greatest number of people in Regency costume, since a theme of the fair is re-enactments of the period in and around the war of 1812. Anne made the bonnet shown above to add to her costume. As re-enactors of artisan, peasant basket-makers, our costumes will be much simpler than those of the frock-coated gentlemen and elegant Empire style dressed ladies. Pictures will follow late Friday of our costumes and those of the more elaborate period dresses. As part of the re-enactment, I will be demonstrating the art of basket-making as I make one or two rib baskets.
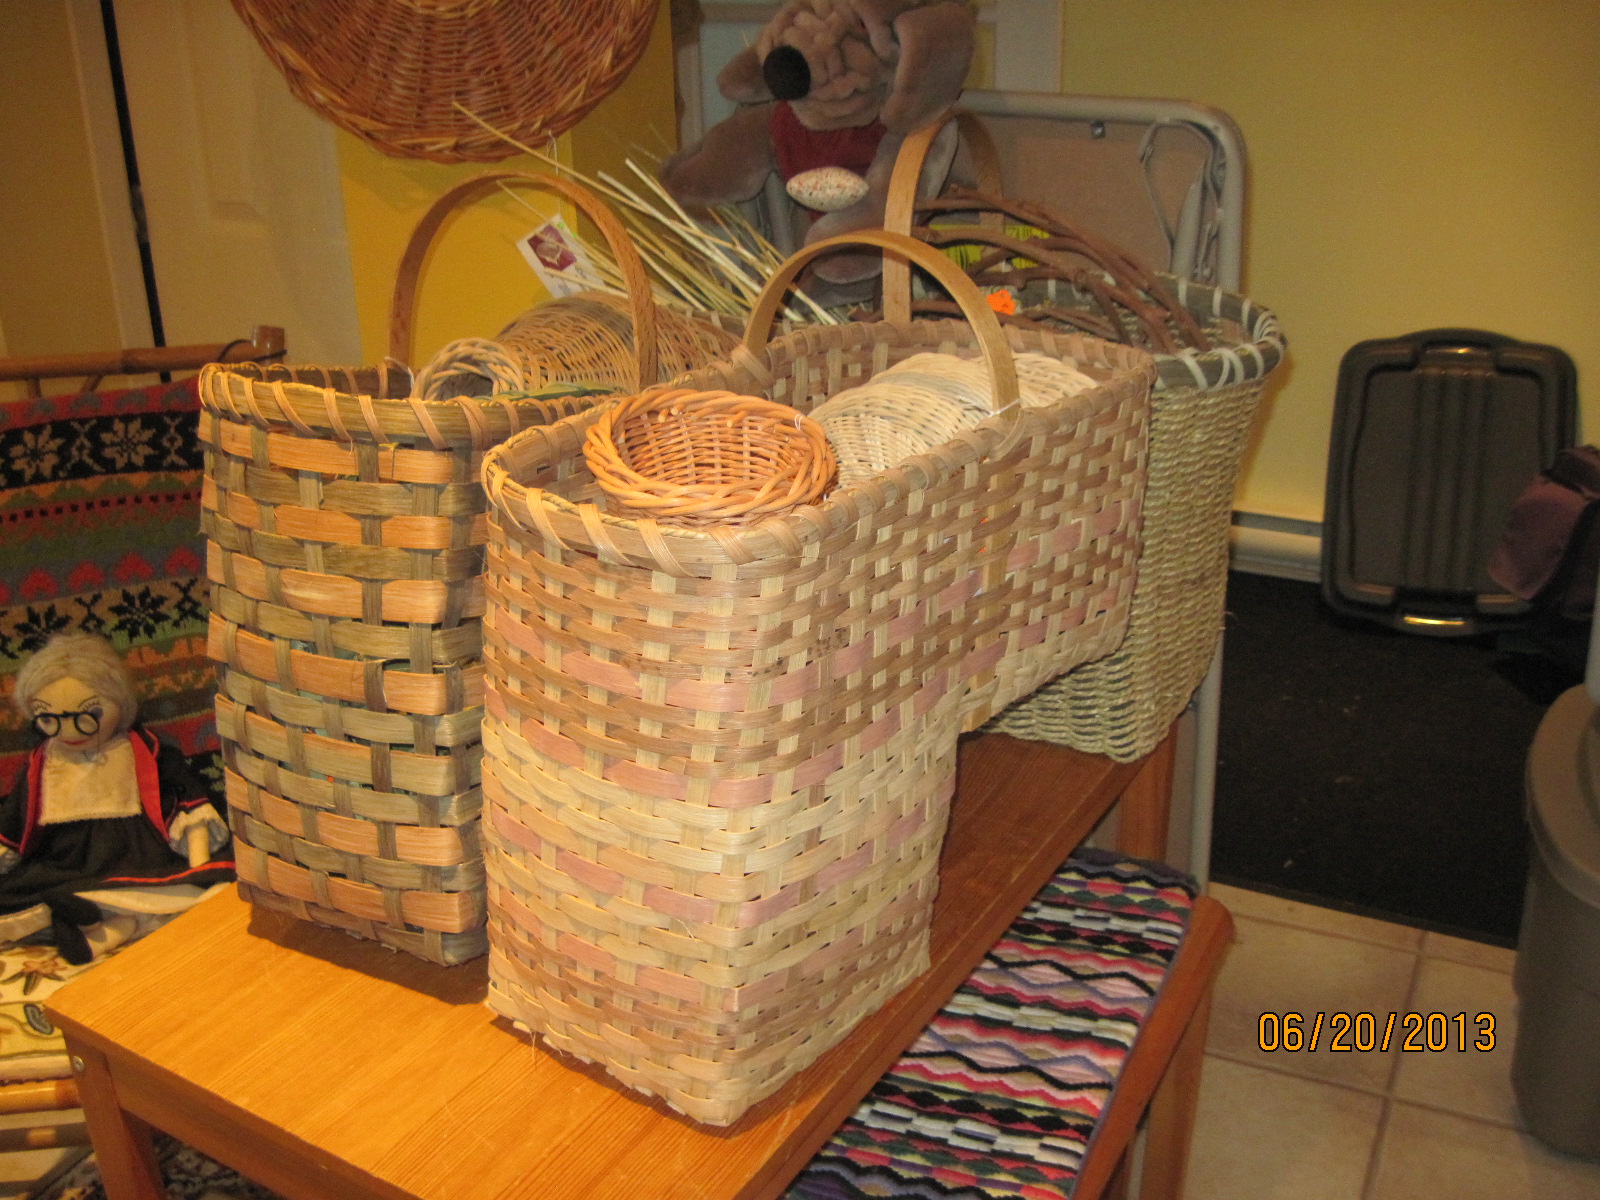
 The open totes and other loose baskets here will, I hope, fit into my Hyundai Elantra Touring hatchback, along with the shelving units. The mill will provide the tenting that is more in line with the tents of that period. My pop-up sun tent/canopy is not exactly period.
 These totes go on top pf the car, well secured with bungee cords. I did remember this year to take the bungees out before loading the heavy shelving units on top of their storage space in the car.
These stair baskets are also ready to be stored in the car. It will be quite full!

Wednesday, March 13, 2013

Adding to my Stair Basket inventory

 Since I sold the custom order stair baskets recently, I had only one stair basket in my inventory. That is the one shown above with Wrinkles sitting inside it. It features mostly light brown and natural 1/2" flat cane and a 12" "D" handle that extends to the base level of the second step.
 The new basket features an 18" "D" handle that extends to the base level of the first step. It is made of 1" and 3/4" weavers and 5/8" stakes, in light and dark brown.
Both look quite good. I have enough flat cane to use as stakes and bases, and enough seagrass for weavers for one more Stair Basket. Now to find the time and energy to make it!

Wednesday, February 13, 2013

The finished stair basket

 I am quite pleased with the looks of this stair basket. My customer should be satisfied with the result. She wanted two such baskets without handles above the rim, and with seagrass weavers. She asked for holes at each end so she could lift it by putting her hands there. I could not figure out how to leave holes at each end with the seagrass and maintain the integrity of the basket, so I wove integrated handles instead.
This photo shows, in a close-up view, the integrated woven handle. A similar one is at the other end.

I am about to reweave the rim for the first basket I made to this design. The one inch flat cane and the round cane filler look so much better than the 1/2" flat cane and seagrass filler I used for the rim of that first basket. The one inch flat cane and sturdy round cane give much more strength to the rim. They also hold the shape much better. Once I have finished reworking the rim for that first basket, I will contact my customer so she can drop by and pick them up.

Tuesday, January 22, 2013

Completing the stair basket.

 At this stage, the stair basket's base level is almost finished.
 Here the second level base is added and almost completed.
The finished basket sits on my stairs loaded down with two half house-bricks to help it retain an appropriate shape.

At the stage before I wove the border I was ready to say, "Never again will I make a stair basket with seagrass weavers." The basket looked quite mis-shapen and I worried about how I could get it to a decent shape. I placed the house-bricks in it overnight to try to shape it. In the middle of the night we were woken with a loud crash. In the morning I found the basket had fallen off the table and landed in the water-filled tote I use to soak the cane. This was the saving of the basket. I wove the border and found that the soaked basket was easy to manipulate into a decent shape. And, by placing it on the stairs with the half-brick weights, its shape was fine. It is now drying to that shape.

Tuesday, December 4, 2012

Prospective sale to Alabama

There is a good chance that three of these child-sized hat stands will be on the way to Alabama shortly. A milliner there is interested in buying these to model the children's hats she makes. She is interested in one of each of the smaller sizes: 0 - 3 month size, 3 - 6 month size, and 6 - 12 month size.

Monday, November 19, 2012

Reworked hat stands.

The hat stands shown above were all reworked by tearing them apart until only their crowns were left. All needed to be reworked since they were too large to sell. Their circumferences were 23" or larger. Since the standard adult head circumference is 22", these as originally woven were not suitable for hat displays.

Each, on being rewoven, is now 22" in circumference or less. The hat stand on the left is made from round and flat rattan cane died a light brown with walnut dye. The central one has a darker walnut dye, but it will be lighter later when it dries. It also features sea grass for part of the body of the stand. The right hand hat stand is made from natural round and flat cane.


Saturday, November 17, 2012

Hat stands at Yarn Forward

 At Yarn Forward, Kanata, Ontario, six of my hat stands serve as models to display knitted hats. Here are three of them . The store manager is quite pleased with them.
http://www.yarnfwd.com/main/stores/kanata_store.html
  This link will take you to the store's website. Enjoy.

Tuesday, November 13, 2012

Making hat stands using a model example.

Yesterday I received an order for three adult sized hat stands and three for children aged 5 and older. While I had three adult sized stands in my inventory, I had only one of size 5 to pre-teen on hand, so I wove two more.

Weaving with cane is always an adventure for me. The hat stand on the left was the one I had on hand. The others are the ones I wove today using that stand as a model. As you can see, though I used the same material and the same number of stakes for each stand, the results are somewhat variable. Each has a circumference of 20.5 inches, the upper limit for had stands for children from age five to pre-teen. Each began with three eight inch pieces of cane inserted through three more canes of similar length. Each then had 24 lengths of cane added on either side of the ends of the six starter canes. And each was domed to form the top of the hat stand. As you can see, the doming was a significant variable in each stand's appearance.

Each has 16 rows of 1/4" flat cane woven for its body structure. And each of these body shapes varies somewhat too. For the necks, I used the same technique to narrow and then widen the stands. With a twinning weave I wove round one stake, then around two, around one, then two all round the body, forcing the weave narrower with each round of weaving. To flair out, I used twinning weave around each separate stake. While the results are similar, there are variations.

I hope the person that ordered the stands likes a little variation.

Saturday, November 10, 2012

THE HERITAGE FAIR at Spencerville, Ontario, 2013

Anne and I have been invited back to Spencerville, Ontario,  for the 2013 Heritage Fair. There I will demonstrate basket-making as well as having an array of baskets for sale. We will also be in costume.

Last year we took part in the 1812 Heritage Fair at the historic Spenserville Mill. There were re-enactments of skirmishes during the War of !812, English Country Dancing, and lots of people in Regency Costume. We had a great time at the Fair. We look forward to taking part in this colourful event agin next year.

Along with the invitation to again take part came a request for other participants to provide horses as part of the Napoleonic theme. This should add more realism to this re-enactment.

Spencerville is just 10 km North of the junction between Highways 401 and 416, just off highway 416.he

Wednesday, November 7, 2012

Graduated rib baskets

 I now have a complete set of graduated (by size) rib baskets. I also have exhausted my supply of dyed 1/4" blue flat cane.
I completed one more rib basket with the remnants of the blue cane, but had to finish with a few strands of red cane to complete the basket. I have enough hoops left for four more baskets, each with two oak hoops, and a couple more with one oak hoop and one grapevine hoop. I will try to weave those tomorrow.

Friday, November 2, 2012

Exhibitors at this weekend's Exhibition and Sale


http://www.ovwsg.com/exhibitionandsale/exhibitorlist.html

I am very happy to be included among the talented artisans at this weekend's Ottawa Valley Weavers and Spinners Guild Exhibition and Sale. Along side the weavers and spinners I will be demonstrating how to make baskets, and seeking people to take part in basket-making classes next year. I also hope to make good sales.

The link above shows the many skilled artisans who let me be a part of their organization.

Wednesday, October 31, 2012

Not quite what I had in mind.

 When I began to weave the sides of my planned round market basket, I soon realised I could only weave with the very thin grapevine branches. The thicker ones either broke as I tried to bend them round the willow stakes or so distorted those stakes as to make the basket unworkable.
 I also had only six or eight thin enough branches. So my 12" high basket with handle became a 3" high tray.
In future years I will harvest only the thicker grapevine branches. The thinner will be discarded to the green bin. As shown above, the thicker ones make ideal hoops for rib baskets.

Tuesday, October 30, 2012

Preparing the grapevine: second stage.

 Today I began to strip the bark from the grapevine that has been in soak for a few days. It is a laborious and time-consuming activity. I use my finger nails to separate the loose outer bark from the branches, while bending and twisting each branch.
 This is the result of 90 minutes of work. I hope to weave with the thinner branches as I make a rib basket. However, that will have to wait a few more days since this quantity of stripped grapevine will not be enough. My back aches!
When I was in Vancouver, B.C., a few years ago, I visited a First Nations craft store. There I was intrigued by a small basket where I could not readily identify the weaving material used. It turned out it was woven with willow bark. Here you can see the stripped grapevine bark. I will keep the longer strips and see if I too can weave with bark.

Sunday, October 21, 2012

Possibilities for teaching basketry classes

 The Guild I belong to, The Ottawa Valley Weavers and Spinners Guild, has lots of spinning and weaving classes, but a shortage of basket-making classes. Today, I and two other basket-makers from the Guild, received a special appeal to offer basket-making classes in 2013. I have taught the occasional class before, so I responded favourably this time.
I offered my skills in offering classes in 1. Making a rib basket as above, or 2. Making a Market Basket as above. The first class would likely see the basket completed in one day (from 10 to 4 00) while the second would likely take two days. I would supply all the tools and materials with one exception for the Market Basket. There I would ask participants to bring around 30 clothes pegs. I (or I should say Anne)   have enough pegs on hand for about two baskets, not six or more that could be needed.

Friday, October 19, 2012

At the Ottawa Knitting Guild vendors' night.

 While I did not make any sales at this Knittingg Guild's vendors' night, I did make some good contacts with stores that cater to knitters. There was a solid interest in the display stands for hats that I make in all sizes ranging from new born baby to adult. The cost for the event was $0 so at least I spent time and energy only/
One comment from a customer was that this venue was an ideal place to meet women. While that might be the case, my trusty helper, Anne, was there to keep an eye on me.

Saturday, October 13, 2012

Using seagrass to make a rib basket

 My regular rib baskets make use of flat cane for the God's eyes and weavers. Today's inspiration (?) is to use seagrass instead. I will use grapevine hoops as in the example above and white willow for the ribs.
 To make a rib basket I choose two hoops of grapevine similar to these. Unlike these, I choose two of a similar size.
 I then place one hoop inside the other and at right angles to it. I then join the two hoops with God's eye weavings. This gives me space behind which to insert the ribs.
The ribs I will use are currently in soak. They are of "white willow", that is willow that had its bark removed when I cut them down in the spring after the first flush of leaves appeared. I will be able to continue this project on Monday when I have free time for weaving once more.

Thursday, October 11, 2012

The finished Market Basket with seagrass weavers.

 I finished the basket by adding the border. This is made from two circles of 1/2" natural cane, one on the inside top of the basket and one on the outside top. A circle of seagrass is then inserted between these two circles. Then I used 1/4" red-dyed flat cane to bind these to the top edge of the basket.
The close-up photo shows how the 1/4" cane binds the border together.

Wednesday, October 10, 2012

Weaving with the addition of seagrass.

 With the model of an English Shopper before me, I began to get ready to weave a similar basket with seagrass as part of the weaving material.
 The pre-cut stakes and fillers are shown here as well as the webbing loop.
 Each of the stakes and filler were marked with an "X" to indicate the middle of each length. A 1/4" red-dyed stake was laid beneath a ceramic tile. The tike is for weight, with the "X" just showing at the edge of the tile. Then I added a 1/2" red filler followed by a 1/2" natural coloured stake. I then alternated filler, 1/4", filler, and natural stake as shown.
 Using an under one and over one weaving pattern I placed a 1/2" natural stake at the line of "Xs". The mid-point "X" of this weaver was placed at the middle 1/2" natural stake. The 1/4" red stake was then woven with an over one and under one pattern.
 As I wove in the third 1/2" natural stake, I also wove the webbing beneath it.
 I then completed the base weaving by working its other side
 The 1/2" fillers for the base were then woven into the base weave as shown.
 Using clothes pegs as anchors, I then began to weave the sides.
 Three rows of twining in red round cane added an embellishment to the basket, with green pony beads at each stake in the second row of this weaving.
 Now I was able to see if the seagrass would be a good addition to my weaving repertoire. I feel it looks good.
I will complete the basket, now named as a market basket, tomorrow by adding its border.
Thinking outside the box (basket).

 Several months ago, a basket-maker friend gave me the last of her supplies as she retired from basket making. Among the supplies were several unopened coils of seagrass. At that time I had only used a few strands of seagrass as fillers for the borders of market baskets. How was I to use this unexpected cache of seagrass?
 One use I made of this supply was in the hat stand shown above. The texture and colour of the seagrass works quite well.
 Today I am venturing into unknown territory for me. I have an eight foot piece of webbing that Anne sewed together in a loop to form the handles of an English Shopper. As you can see above I use that loop to go round the basket twice and then serve as the handles. Perhaps I can weave much of the body of a new basket with seagrass?
I found these "patterns" for an English Shopper as well as the model shown above. I pre-cut the stakes to the given dimensions. They are now in soak waiting for me to return to them later in the day. I will create more blogs as the work progresses. If the seagrass proves to be a good material for this kind of basket, I will be quite happy. If it does not, I will weave a similar shopper to the one shown.